You're looking at a tired sofa or a bare lounge-room wall and wondering whether peel & stick will solve the problem without a major project. Peel-and-stick products hold through a pressure-sensitive adhesive, not glue that dries hard, so their success depends on surface contact, preparation and location. Casamé Home sells a self-adhesive repair patch, not wallpaper or tiles, but the same basic adhesive physics explains why these products hold and why their edges sometimes lift.
Table of Contents
- What Does Peel & Stick Mean and How Does It Hold?
- What Are the Pros and Cons of Peel & Stick?
- Why Does Peel & Stick Let Go?
- How Do You Get Peel & Stick to Stay Put?
- Is Peel & Stick the Right Tool Around the Home?
- Is a Leather Repair Patch or a Couch Cover Better for Your Sofa?
- How Do You Care for Peel & Stick on Upholstery?
What Does Peel & Stick Mean and How Does It Hold?
Peel & stick means a sheet or film with a pressure-sensitive adhesive on the back, protected by a release backing, that holds where it's pressed against a suitable surface. You remove the backing, position the sheet and apply pressure to bring the adhesive into close contact with the surface.
A sticky note is a useful comparison. The note stays on a desk because its adhesive makes contact under light pressure, not because wet glue has hardened. Different peel-and-stick products use different adhesive formulations, so the comparison explains the mechanism, not their strength or removability.
The three layers that make it work
- The sheet or film is the visible part that covers, decorates or conceals the surface.
- The adhesive layer provides the grip. Pressure helps it make contact with small surface irregularities.
- The release backing protects the adhesive before use. Removing it exposes the sticky layer to both the intended surface and any dust or fingerprints nearby.
The adhesive doesn't dry or cure during ordinary peel-and-stick application. A strong initial grab also doesn't prove that the product will tolerate sunlight, temperature changes or removal.
For exposed applications, acrylic pressure-sensitive systems are generally preferred to rubber-based systems because of their resistance to ultraviolet exposure and temperature cycling. That's a general selection principle, not a statement about the composition or performance of Casamé Home's patch.
The diagram shows how the backing, adhesive and applied pressure work together.
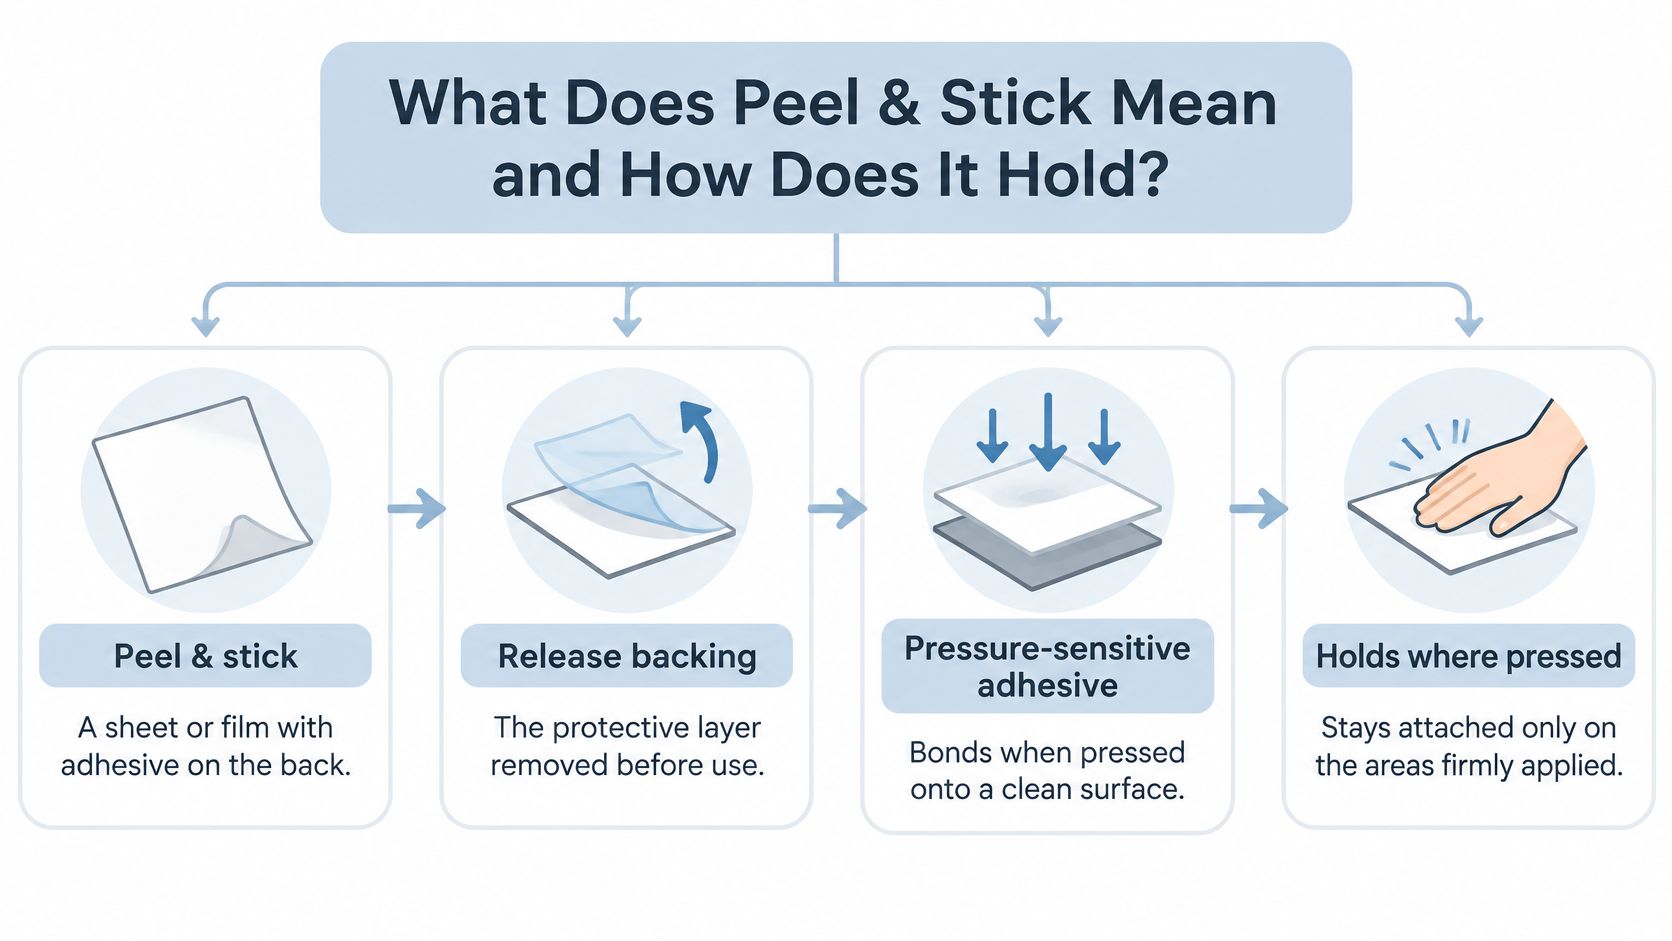
Peel-and-stick wallpaper, wall tiles, splashback tiles, decals, contact paper and the Self-Adhesive Leather Repair Patch all use this broad format. Casamé Home sells only the patch from that list. Sharing an application format doesn't make those products interchangeable.
The adhesive grips where it is pressed, and nowhere else.
What Are the Pros and Cons of Peel & Stick?
A chair still seats comfortably and the frame is solid, yet one scuffed, cracked patch on the arm makes it look ready for the kerb. That gap between "works fine" and "looks tired" is exactly where peel & stick earns its place. Every strength and weakness in this format traces back to a single fact: pressure-sensitive adhesive holds only where it has been pressed into real contact with the surface.
What makes peel & stick useful?
- Less equipment: The Self-Adhesive Leather Repair Patch needs no sewing or special tools and can be cut with scissors.
- Targeted coverage: A small tear or worn strip can be concealed without changing every visible surface.
- Controlled shaping: A cuttable sheet can follow the area being covered rather than forcing a standard rectangular outline.
- A manageable project: A prepared, accessible surface can be covered in one application session without mixing a separate adhesive.
All four advantages share one source. The adhesive layer arrives ready to bond, so it replaces the tools, fasteners and curing time a traditional repair would demand. Success is decided at the surface, which means careful preparation matters more than skill with equipment, and a small visual fault can be fixed while keeping the rest of a useful item in service.
What are the practical limits?
Contact is compulsory. A sheet can look flat while bridging grooves or pockets of air, leaving parts of the adhesive unsupported. The adhesive behaves like paint on a rough wall: it wets the high points, skips the hollows, and the skipped areas carry no load.
The base must hold together. Loose paint, flaking material or unstable surface layers can come away with the adhesive. A larger sheet still relies on the same weak foundation.
Removal isn't automatically harmless. A product described as removable can still leave residue or disturb a fragile finish. That matters particularly when the surface belongs to a landlord.
Buying rule: Choose peel & stick when the surface is sound and the job is defined.
There is also an end-of-life trade-off. Keeping usable furniture in service may avoid a replacement purchase, while an adhesive-backed sheet is rarely accepted in kerbside recycling. Separate clean packaging from bonded materials and check local disposal rules for the bonded part.
Why Does Peel & Stick Let Go?
A corner can look flat at noon and be lifted by late afternoon after sun warms the arm of a sofa. The sheet has not suddenly failed; pressure-sensitive adhesive holds only where it is pressed into real contact, and warmth lowers its resistance to shear. It works less like glue that dries hard and more like a tacky layer that must wet the surface under pressure, then keep that contact under load.
A small leather repair patch and a stretch couch cover solve different problems. A patch concentrates stress at one adhesive boundary, while a cover is held by the tuck, not glue. Casamé Home treats those as different jobs: a local fault can suit a patch, while a whole fabric seat may suit a cover. Neither makes a weak surface stronger.
What does the lifting pattern tell you?
An edge that creeps on warm days points toward heat and shear, especially where hands, clothing or cleaning cloths can catch a corner. A piece that bonds at first and releases later often sat over skin oil, polish, conditioner or cleaner film, which acts as a release layer between adhesive and surface. Cold application is different again: stiff adhesive cannot flow into texture, so the sheet may feel attached while touching fewer high points than expected.
Moisture leaves a barrier beneath the sheet, and a rough or grooved base gives scattered contact instead of a continuous bed. A bubble is therefore a clue, not a diagnosis; it may be air, but it may also mark residue, dampness, a seam or a spot where the sheet bridges rather than contacts.
Peel & stick symptoms, likely causes and practical responses
| Symptom | Likely cause | Practical response |
|---|---|---|
| Edges lift, corners first, often on warm days | Adhesive becomes easier to shear in sustained heat | Reduce direct heat on the item and remove snag points at exposed corners |
| Sticks at first, lifts weeks later | Residue, skin oil, polish or conditioner acts as a release layer | Remove the film and reapply only to a compatible clean base |
| Grips poorly when applied on a cold morning | Stiff adhesive cannot flow into the surface texture | Let room and material return to ordinary temperature before judging the bond |
| Weak bond or bubbles that won't press out | Moisture trapped between adhesive and surface | Treat dampness as the cause and do not seal it under a new layer |
| Peels from one corner first | A square corner catches on hands or clothing | Round exposed corners so lifting cannot start at a point |
| Patchy grip on a rough or grooved surface | Adhesive has too few points of contact | Choose a smoother area or use a non-adhesive repair where the base cannot offer contact |
A lifting corner does not prove the adhesive is defective. Turn it back slowly and inspect what is attached to the underside: dust, loose paint, fibres or fragments of the base indicate that the surface came away with the sheet.
Avoid answering with stronger glue or aggressive heat. Either can turn a limited adhesion problem into a harder removal job while leaving the underlying surface just as unsuitable.
How Do You Get Peel & Stick to Stay Put?
A sheet laid down in one motion usually lands slightly off-line, with air pockets already sealed underneath it. The difference between that result and a flat, lasting bond is sequence rather than force. Pressure-sensitive adhesive grabs whatever it touches first, so each step below exists to control what the glue meets and in what order.
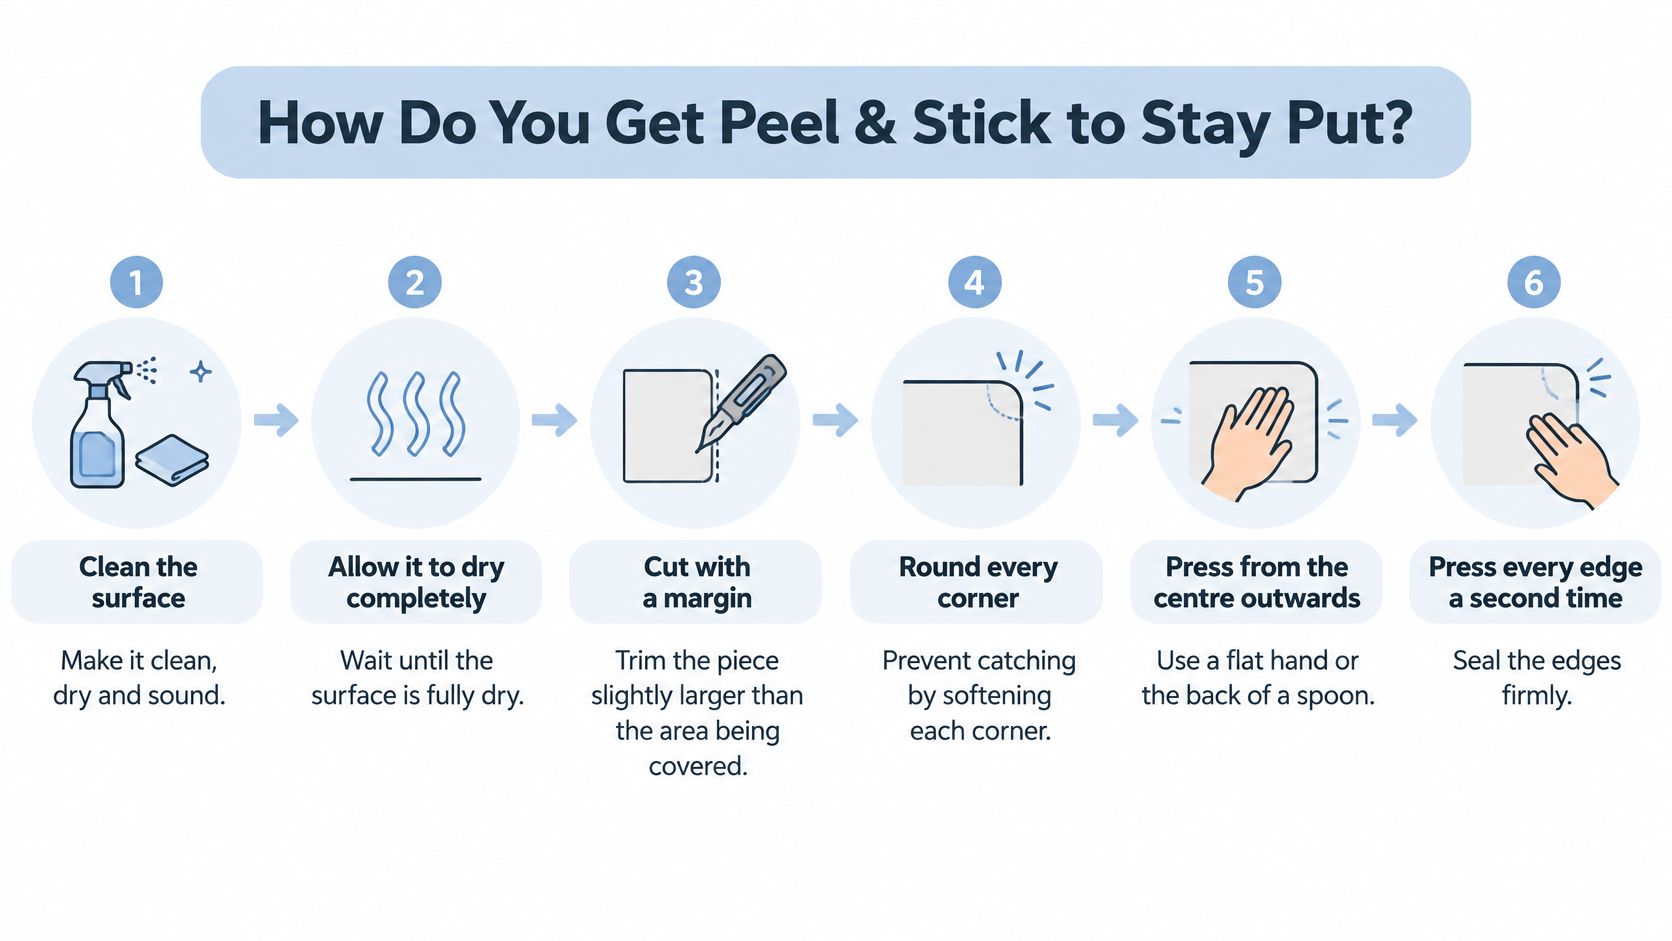
- Check the base. Look for grease, mould, loose paint, old adhesive and unstable material. The common mistake is covering a defect that needs attention first.
- Clean without leaving a film. On a compatible surface, wipe with a lightly damp cloth, follow with a dry cloth, and use an appropriate cleaner where grease is present. Polish is not a substitute for cleaning, and water alone does not cut grease.
- Allow complete drying. Run a dry fingertip along seams, grooves and recessed areas as well as the exposed face. A surface that looks dry can still hold moisture around an edge.
- Cut suitable pieces with a margin. Where the product is designed to be cut, extend beyond the area being concealed and round exposed corners. Don't trim so tightly that the adhesive rests only on damaged material; full panels and tiles require their own layout instructions.
- Expose the backing gradually. Align an edge, then lay the sheet progressively while smoothing from the centre towards the edges. Removing the entire backing at once makes accidental contact and trapped air harder to control.
- Press the whole contact area. Use a flat hand, or the back of a spoon where the surface tolerates it, then press every edge a second time. Don't concentrate so much on the middle that the perimeter receives only a light touch.
This sequence describes general practice for pressure-sensitive adhesives, and each product's own instructions take precedence over it.
Surface preparation still depends on the product
For wallpaper specifically, installation guides generally call for clean, dry, structurally sound walls, favour smooth primed painted surfaces, and describe gradual backing removal and outward smoothing. Wall-specific filling and priming apply to walls; upholstery follows a different method.
For the separate furniture method, see how to apply leather repair patches.
If a sheet goes down crooked, stop before pressing further. Only if the product allows repositioning, lift it slowly and realign it without stretching; don't use heat to loosen it or force off a sheet that's resisting.
Is Peel & Stick the Right Tool Around the Home?
A wall beside a west-facing window bakes every afternoon, while the hallway wall ten steps away stays cool all day. Both are "walls," yet the same pressure-sensitive sheet creeps on one and holds on the other. Adhesion is local. The conditions at the exact application spot decide the outcome, and the adhesive behaves much like a sticker on a lunchbox: it needs full contact on a clean, dry, stable surface, and it gives up gradually once heat or moisture works underneath.
Casamé Home doesn't sell peel-and-stick wallpaper, wall tiles, splashback tiles, floor tiles, contact paper, decals or wall stickers. The judgements below describe how this adhesive category behaves in general, because the same physics applies to any peel-and-stick product regardless of brand.
Common locations and how suitable peel & stick is
| Location | Suitability | Reason |
|---|---|---|
| Painted wall away from direct sun | Suitable in principle, test first | Stable temperature and a smooth surface; removal still depends on paint condition |
| Wall beside a window in afternoon sun | Poor fit | Heat softens the adhesive, so edges creep and lift |
| Wall behind a sofa where condensation forms | Poor fit | Moisture weakens the bond and can cause lifting |
| Surface above a stove, heater or fireplace | Wrong tool | Sustained heat softens the adhesive over time |
| Smooth glass or cabinet fronts | Possible, test first | Smooth and dry, but the bond still depends on the surface and cleaning |
| Any wall in a rented home | Check the lease first | Changes may need written landlord permission, and removal can affect the surface beneath |
Rental permission and indoor air
In New South Wales, changes are allowed when the lease permits them or the landlord gives written permission, and landlords can't unreasonably refuse consent for minor changes, according to the NSW Government rental alterations guidance. Removing an adhesive treatment may affect paint or plaster, so a temporary-looking decoration can still become a property alteration.
Rules vary by state. In Western Australia, tenants who make modifications must maintain them, remove them unless the landlord agrees they can stay, and repair resulting damage at the end of the tenancy, as explained by Consumer Protection WA.
Photograph the original surface and test a small concealed area before committing to broad coverage. Keep the packaging and check both the lease and the relevant state rules; a successful adhesion test isn't landlord approval.
Ventilation deserves attention too. The Australian Government's Your Home indoor-air guidance explains that renovation products including adhesives can emit volatile organic compounds that may cause irritation or headaches, and recommends reducing emissions and ventilating during and after installation.

Removable textiles take the wall out of the equation entirely. A stretch-fit option such as the Avelia Couch Cover in Blue changes the sofa itself rather than the room around it, and the renter decor tips from Casamé Home offer ideas for planning changes without assuming an adhesive treatment is permitted.
Is a Leather Repair Patch or a Couch Cover Better for Your Sofa?
A cat scratch across one leather armrest needs a different fix than a fabric couch that has gone shabby from arm to arm. The first calls for a patch. The second calls for a cover. Choosing between them comes down to how much of the surface is damaged and what the furniture is upholstered in, and neither option restores a broken frame, failed cushioning or an unstable surface underneath.
A patch for a local fault
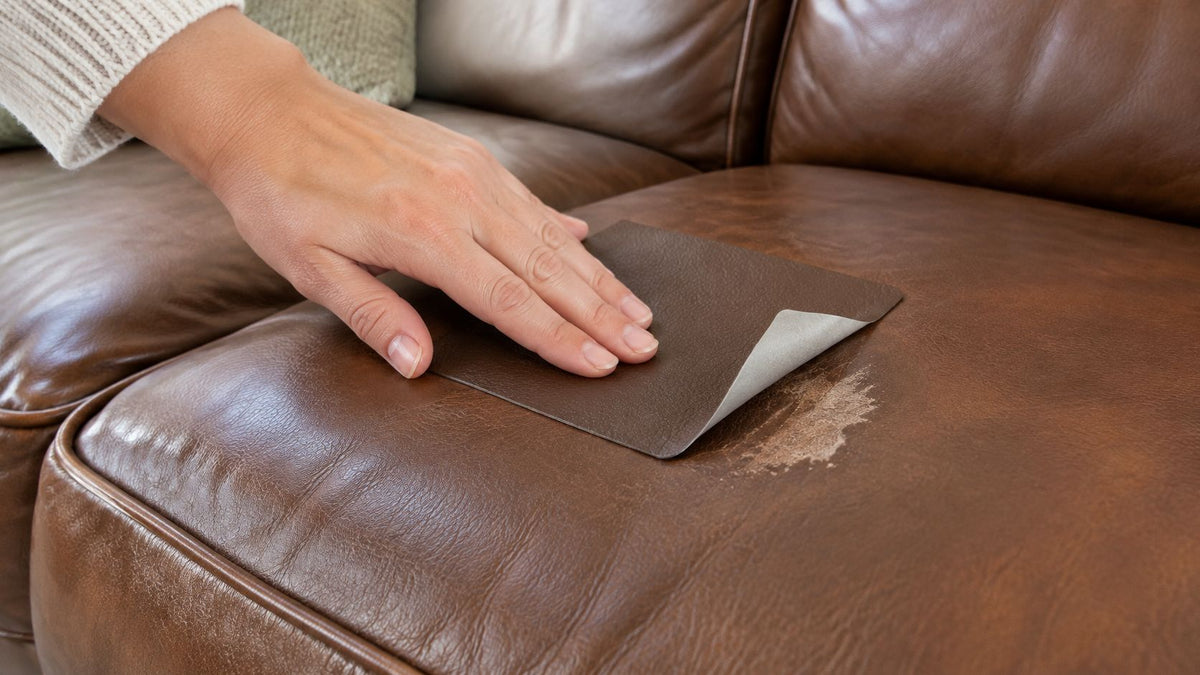
The Self-Adhesive Leather Repair Patch is a single peel-and-stick sheet measuring 50 × 120 cm, cut to shape with ordinary scissors and needing no sewing or special tools. Its pressure-sensitive adhesive has to grip the material beneath it, so it suits a defined tear, scuff or worn strip on leather or vinyl. Widespread peeling or flaking is not a sound base, since the sheet can only hold as well as the surface it bonds to.
Emilia C., who bought the Self-Adhesive Leather Repair Patch, summed up the format in her review: "Proper easy to use, just peel and stick, sorted!"
A patch conceals one area and leaves the rest of the furniture visible. It contains no filler, colourant or sandpaper, so deep gouges and colour mismatches sit outside what one adhesive sheet can correct.
A cover for a broader surface change
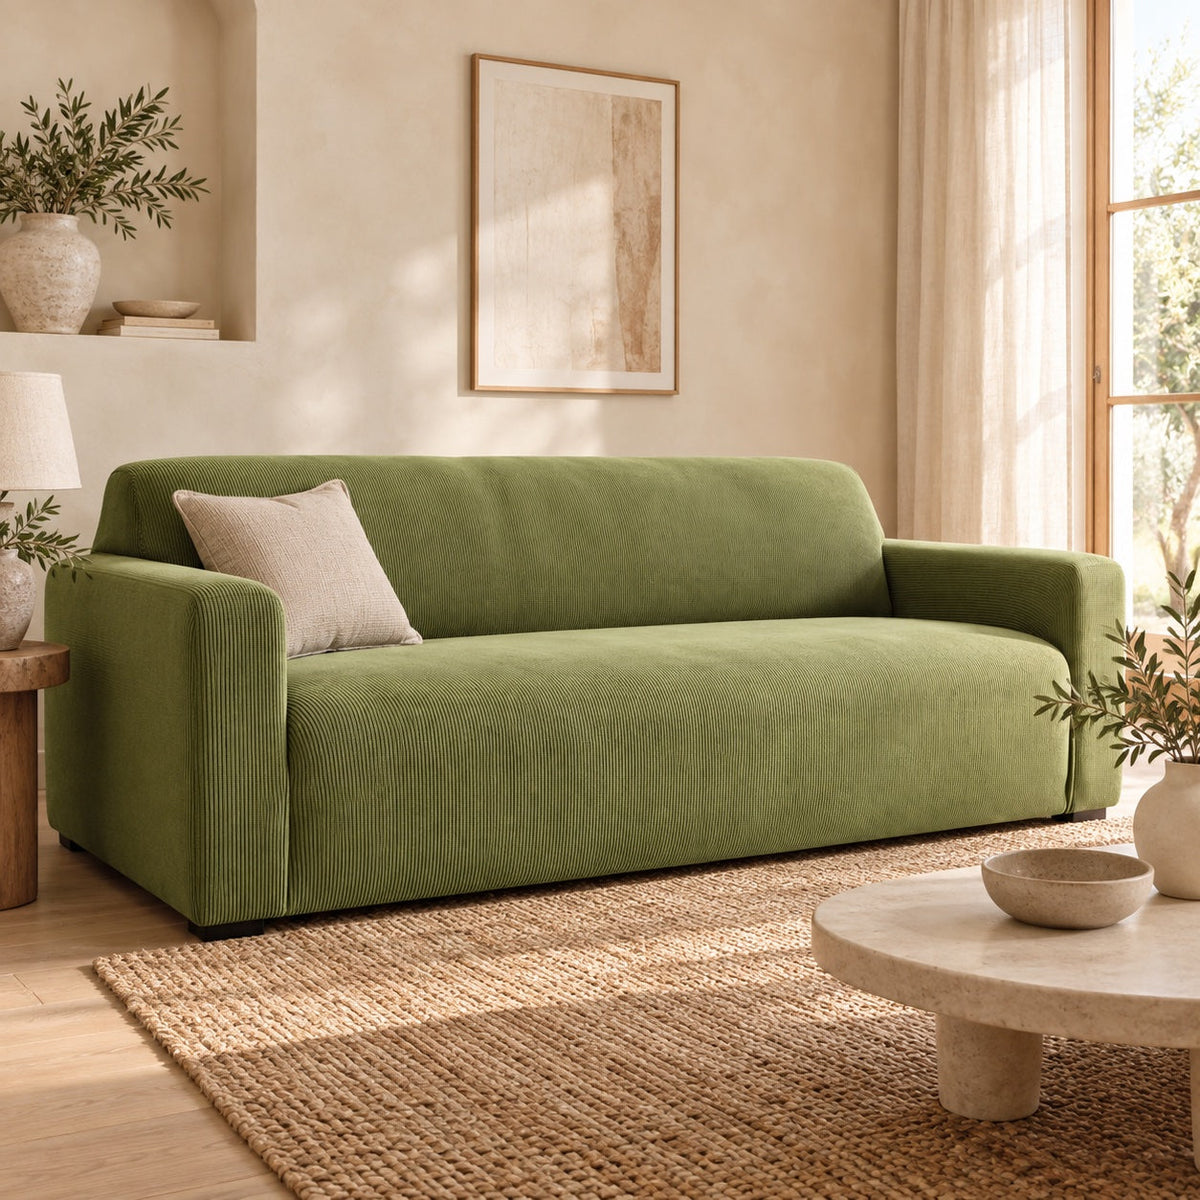
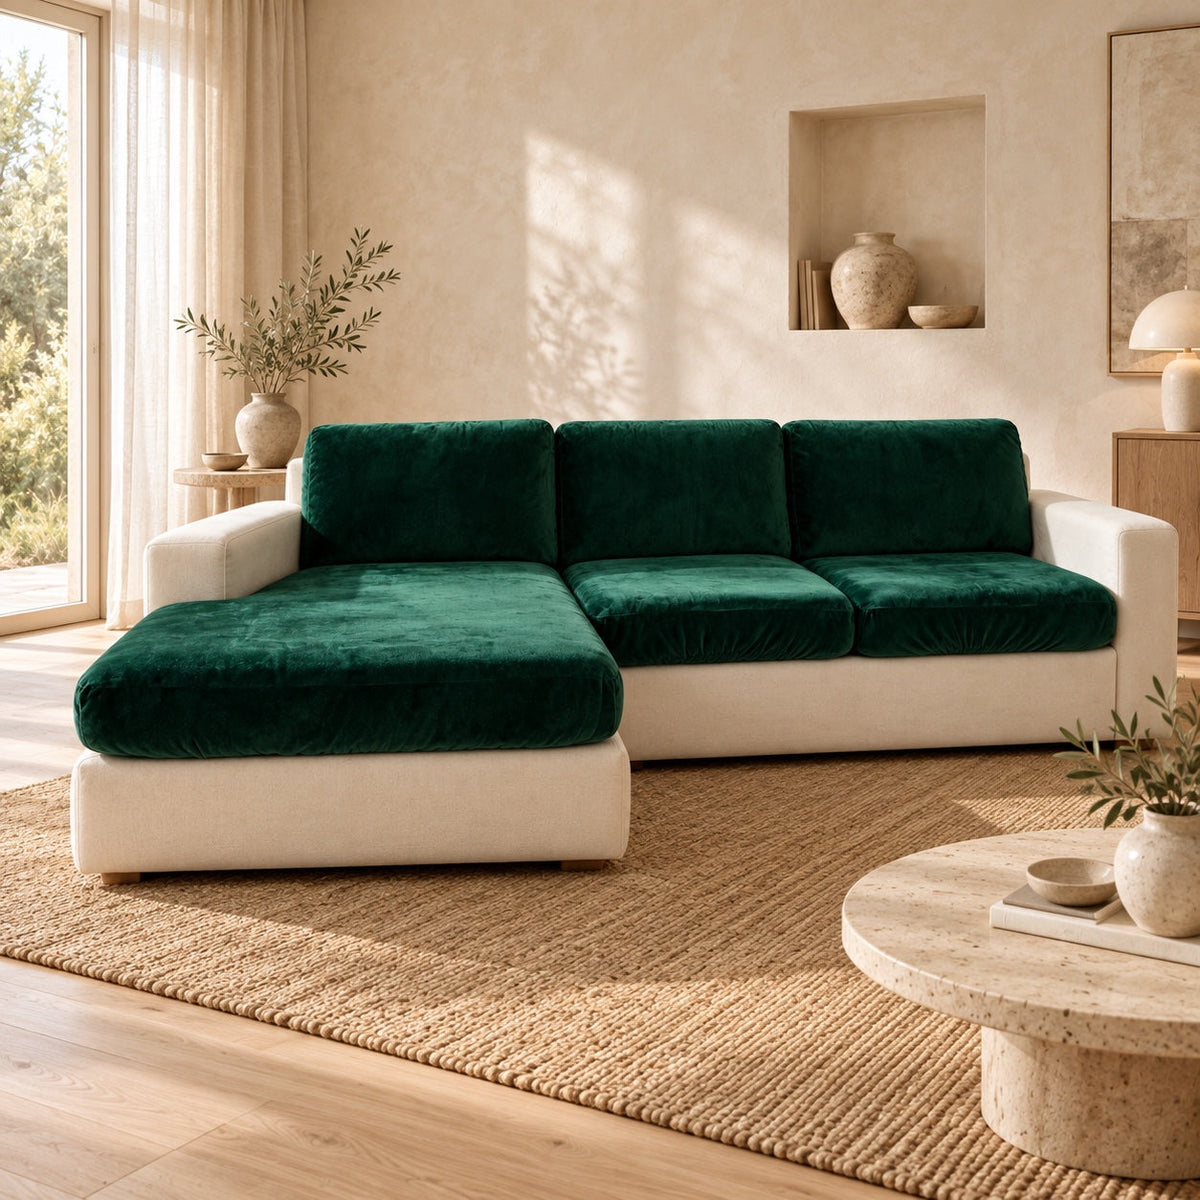
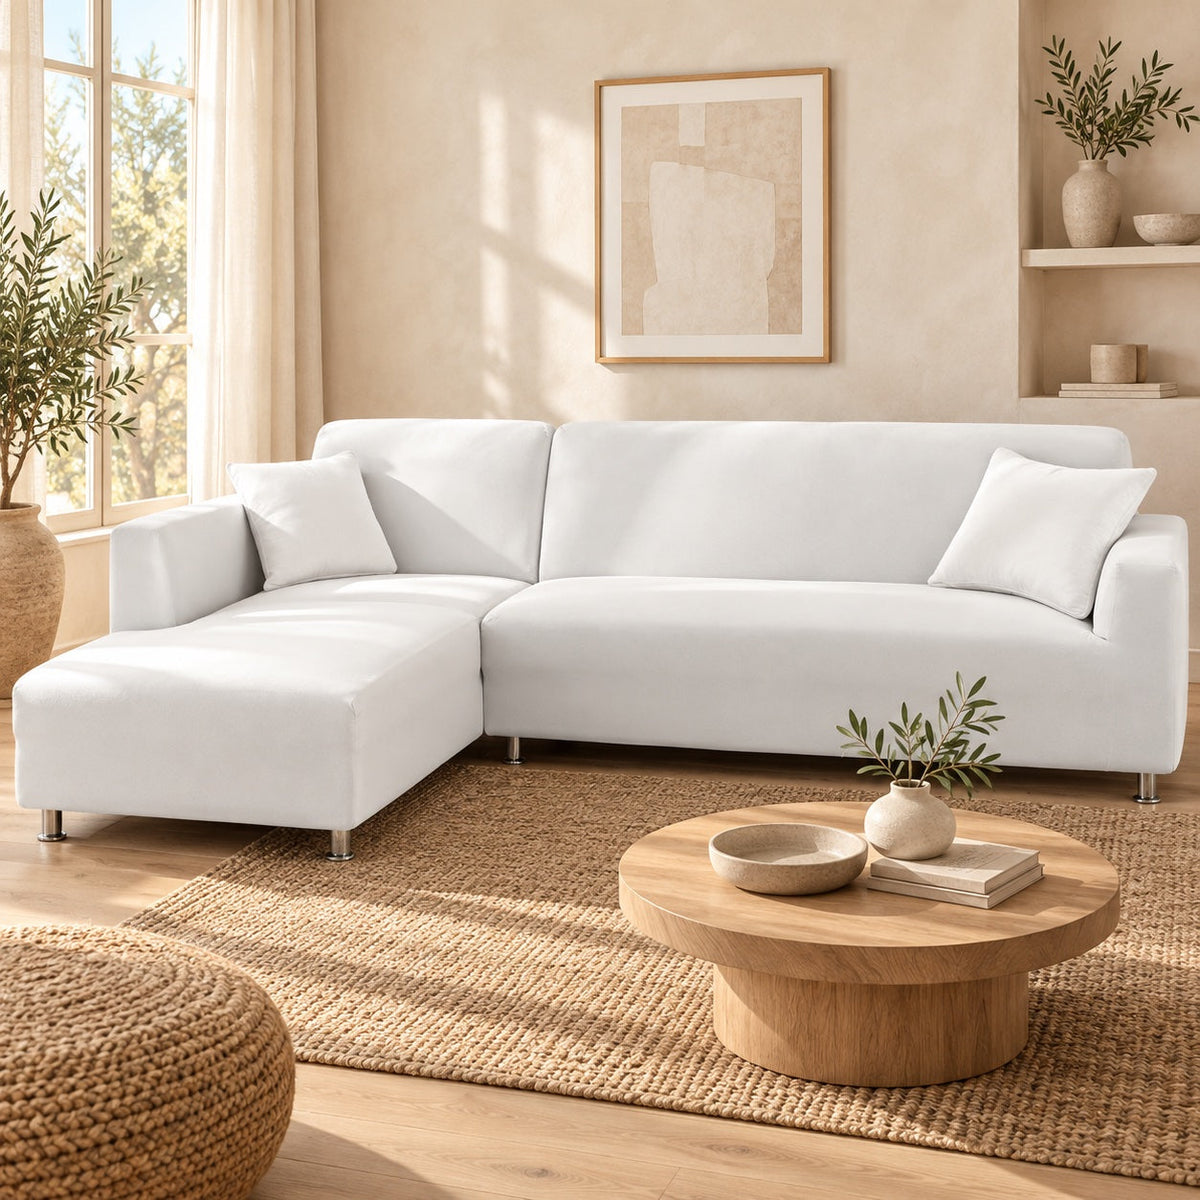
For a fabric couch or a whole worn seat, the Casamé Home couch cover collection takes a different approach: a stretch cover held by the tuck, not glue. Nothing bonds to the sofa itself, so the cover lifts off again, which suits renters after a reversible update.
A cover also changes the sofa's entire look at once. That scope fits general wear, dated upholstery or a tired overall appearance rather than one isolated fault, and the stretch construction adapts to varied sofa shapes instead of needing a perfect match.
Covers come in set sizes for one to four seaters rather than made-to-measure, with modular options for L-shaped and sectional layouts and versions for recliners and chairs. Seat width alone does not confirm fit, so measure the sofa and follow the size guide's measuring path before choosing a configuration.
When the damage runs deeper than surface wear, a cover and a patch both stop short. It helps to compare slipcovers and sofa reupholstery, since a removable covering and rebuilt upholstery are different interventions aimed at different problems.
How Do You Care for Peel & Stick on Upholstery?
A drink splashes onto the sofa arm a few centimetres from the patch edge. The instinct is to scrub hard, but pressure-sensitive adhesive holds where it is pressed down and lets go where moisture, heat or lifting force reaches the boundary. Caring for peel & stick on upholstery means cleaning the material while protecting that edge.
The edge is where the bond lives.
- Blot spills promptly. Use a soft, dry cloth rather than soaking the area. Work gently near the perimeter so liquid isn't pushed beneath an edge.
- Wipe along the covering, away from the edges. A cloth dragged across a corner can catch it and start a peel. Strokes that run parallel to the edge, or away from it, never pull the boundary upward.
- Separate textile care from patch care. Follow the care label for a stretch couch cover or cushion. The Self-Adhesive Leather Repair Patch sits on leather, so textile washing instructions don't apply to it; a soft dry or lightly damp cloth suits the patch surface.
- Inspect instead of picking. If a clean edge begins lifting, press it down gently rather than pulling at it. Persistent lifting calls for checking the base and the conditions around it, not repeatedly stretching the sheet back into position.
- Keep hot tools and steam off the adhesive. Don't use a hot appliance to flatten or refresh the covering, and don't assume that a cleaner suitable for nearby upholstery is also suitable for an adhesive-backed covering.
Removal needs a test first
Before removal, test a small hidden area and check the product's removal guidance. Where removal is appropriate, lift slowly at a low angle rather than pulling sharply away from the surface.
Some residue or surface finish may come away with the piece. Stop if the base starts lifting, and test any residue cleaner separately before using it more widely. Ventilate during cleaning and avoid mixing cleaning products.
Keep the rest of the lounge room on its own material-specific care routine.
Casamé Home offers a Self-Adhesive Leather Repair Patch (50 × 120 cm) for a local furniture fault and stretch couch covers for a broader, no-glue refresh. Visit Casamé Home to compare those options, then choose according to your sofa's surface, the extent of the wear and the measurements you've checked.